If you want to keep track of all your invoices and deductions in Shopperations, you can do so by entering them either on the Invoices Page in top navigation menu, on in Invoices Tab inside each event.
From the Invoices Page:
Note: To enter an invoice or deduction from Invoices Page, you must be in a specific team context.
Click Add Invoice button on top right.

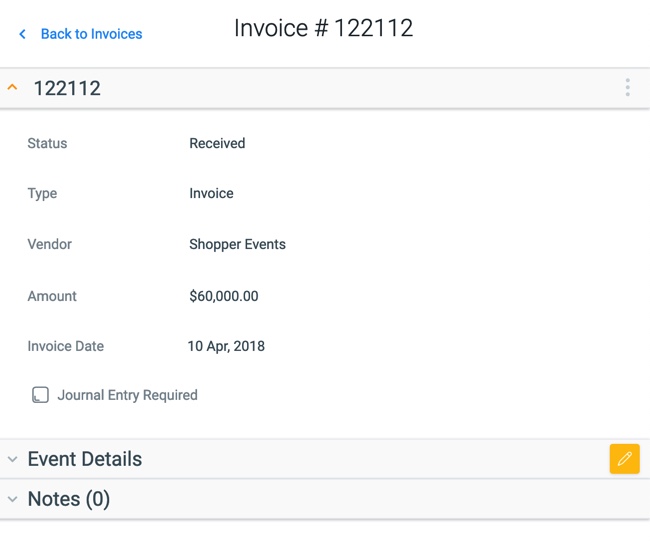
In the sidebar that opens, document invoice properties, such as Invoice number, Type, Status, Vendor, Date and Invoice Amount.

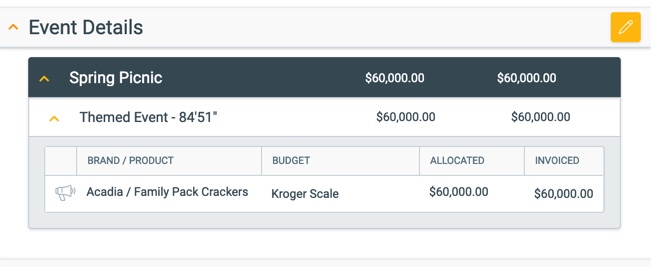
Once you save these basic Invoice details, Event Details section will become available to let you assign the invoice to an event and tactic.
Use “event” drop down to pick an event that the invoice belongs to. Then, pick a tactic within that event that the invoice will be assigned to. (Note that, multiple tactics can be selected for one invoice.)

If only one tactic is selected, and only one brand/product is available in that tactic, the entire Invoice Amount will be assigned to it automatically. Click Save to finish invoice entry.
If more than one product is listed in a tactic, or more than one tactic is selected for an event, the system will not automatically break up the invoice amount, and will wait for the user to do so.
- Enter split the total invoice amount into individual cells and make sure the total for the column matches “Invoice Amount” above.
- If the total in the table matches the Invoice Amount, the Save button will become active. Your invoice entry is now complete.
This process propagates data into Actual Spend column inside Event Spend and helps you reconcile and finalize events.

Note the invoice icon in the actuals column. It indicates that there are invoices entered for the tactic/brand/product and hyperlinks to the invoice entries.

The invoices entered on top navigation page that have been linked to events will also show on those events’ Invoices tab.
To enter new invoices from inside the event, follow similar steps on Invoices tab.